

Creating a great video starts long before the camera is turned on. This resource is designed to help students and teachers plan effective, engaging video stories through strong pre-production practices. From clarifying your purpose and understanding your audience, to scripting, storyboarding and organising your shoot, these practical tips will guide you through the essential steps that set every successful video up for success. With the right planning, you can save time, reduce stress, and bring your ideas to life with clarity and impact.
Plan Your Story First
1 – Clarify your purpose
- What is your video about?
- What do you want your audience to learn, feel, or do?
2 – Know your audience
- Who are you speaking to?
- What will make the content engaging or relevant for them?
3 – Develop a simple story structure
- Beginning: introduce the topic
- Middle: explain or explore ideas
- End: conclude or call to action
4 – Brainstorm ideas
- Use mind maps, sticky notes, or group discussions
- Don’t settle on the first idea—explore a few options
AI tip
Once your group has brainstormed ideas for your story, use your school’s preferred chat-bot (eg Co-pilot, Gemini) to come up with other ideas and decide on the best approach.
Script & Storyboard
5 – Write a basic script or outline
- Keep language clear and conversational
- Break it into short sections or key points
AI tip
Once your basic script is written, copy and past it into your school’s preferred chat-bot and ask it to re-write it for your target audience then use the best of both your script and what the chat-bot produced.
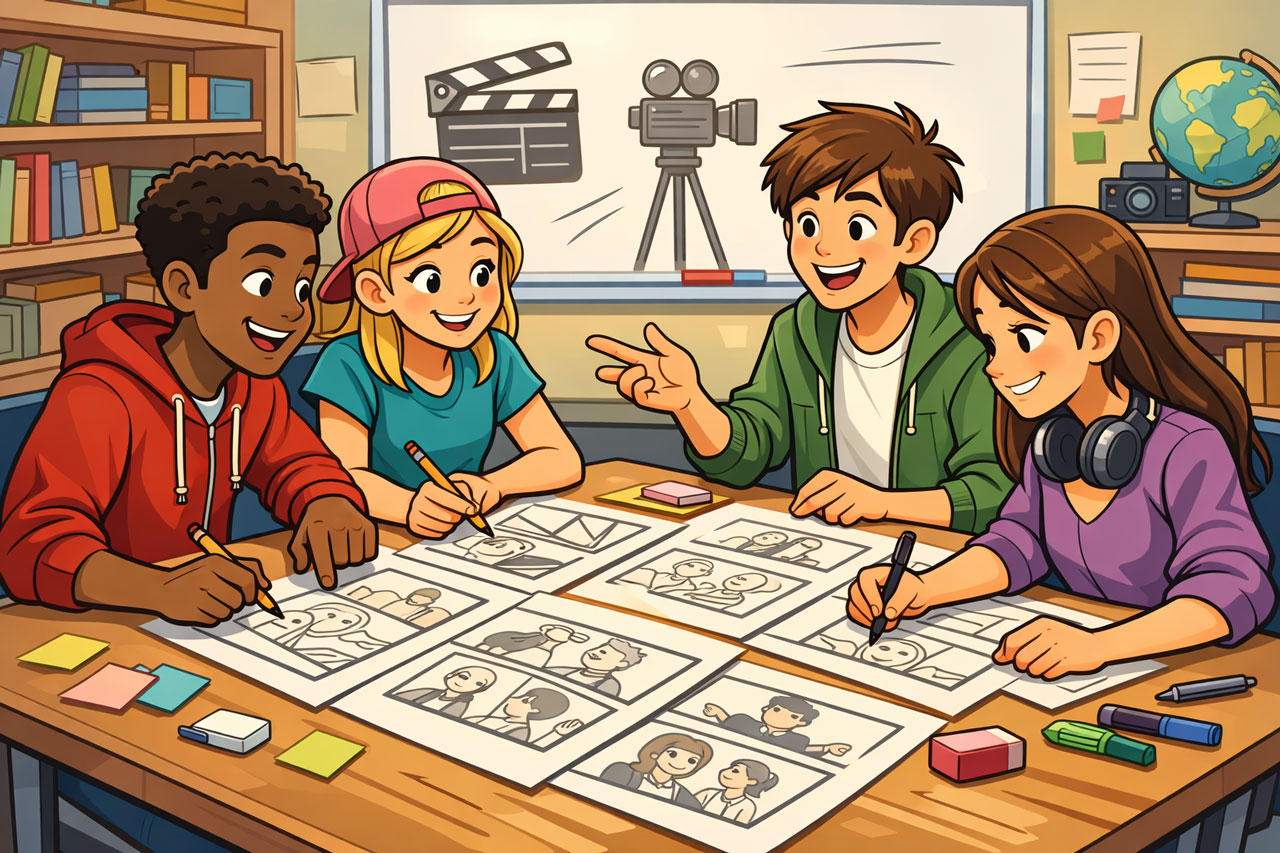
6. Create a storyboard
- Plan each shot visually (even simple sketches work)
- Include:
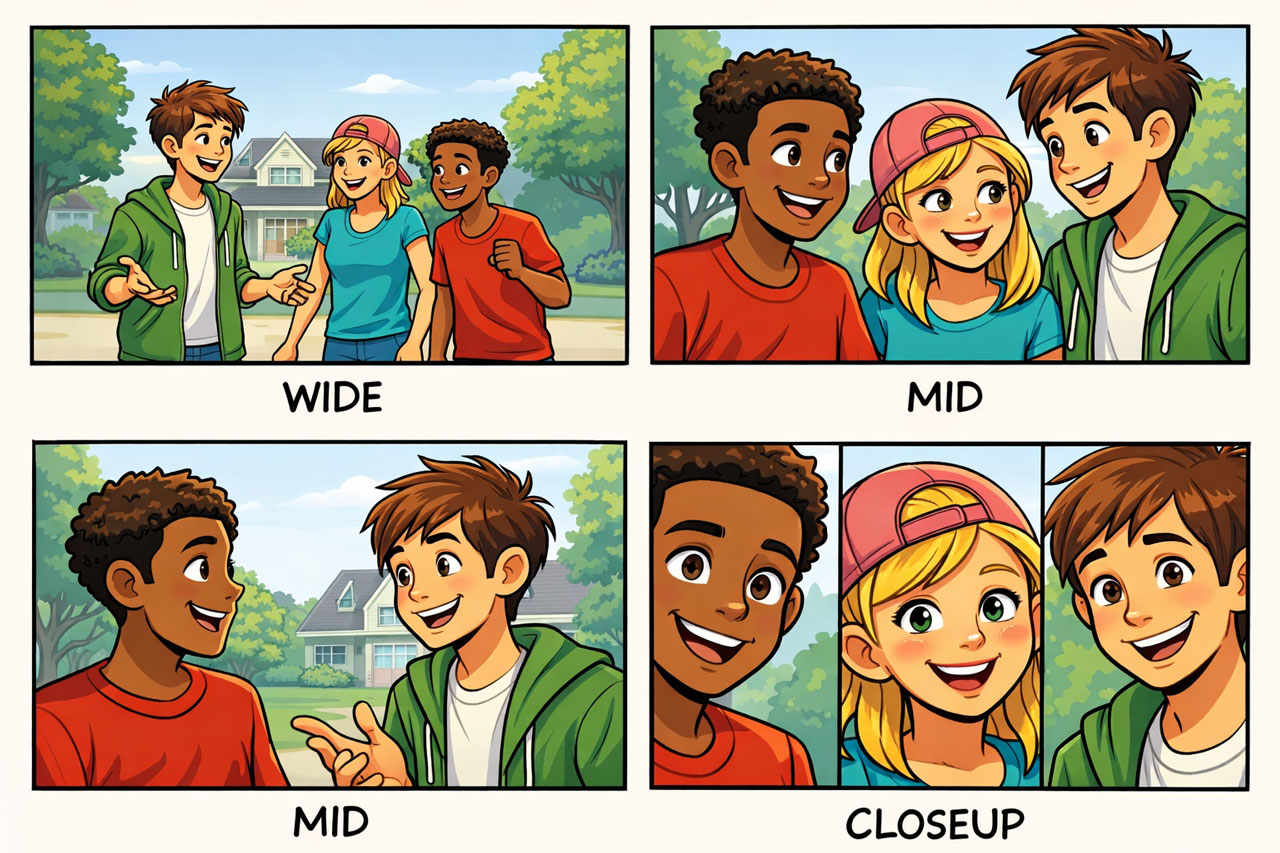
- Shot type (wide, mid, close-up)
- Camera angle
- What’s happening in the scene
Tip
Generally, it is a good idea to start with a wide shot to help establish your scene/location.
7. Plan your shot list
- List everything you need to film
- This saves time and avoids missed footage
Example of a shot list
| Shot # | Shot Type | Description | Audio | Notes |
|---|---|---|---|---|
| 1 | Wide Shot (WS) | Establishing shot of classroom with students working | Ambient sound | Sets the scene |
| 2 | Medium Shot (MS) | Presenter speaking to camera | Dialogue (main audio) | Use tripod, eye level |
| 3 | Close-Up (CU) | Hands typing on laptop | Natural sound or music | Use as cutaway |
| 4 | Over-the-Shoulder (OTS) | Student editing video on screen | Voiceover or music | Shows process |
| 5 | Cutaway (CU/MS) | Students collaborating in group | Ambient sound | Covers edits |
| 6 | Medium Shot (MS) | Presenter continues explanation | Dialogue | Keep framing consistent |
| 7 | Close-Up (CU) | Student reacting/smiling | Natural sound | Adds emotion |
| 8 | Wide Shot (WS) | Final classroom shot | Music | Closing visual |
| 9 | Medium Close-Up (MCU) | Presenter delivers conclusion to camera | Dialogue | Clear ending message |
Tips
Always include a mix of shot types (wide, medium, close-up). Plan extra cutaway shots (B-roll) to make editing easier.
Organise the Shoot
8. Choose locations carefully
- Check lighting, noise, and background
- Make sure the space suits your story
9. Assign roles (if working in a group)
- Director, camera operator, presenter, editor
- Everyone should know their responsibility
10. Prepare your equipment
- Camera/phone charged
- Microphone working
- Tripod or stabiliser ready
11. Plan your timing
- Create a simple schedule
- Allow time for retakes and problem-solving
Final Check Before Filming
12. Do a test run
- Rehearse the script
- Test audio and video quality
13. Keep it simple
- A clear, well-planned idea is better than an overcomplicated one
